fortnight! It's SO devastating to all those people who
have had their houses and business's flooded! But ...
maybe ... just maybe ... if all the wire workers united
to create a Rain Cloud talisman pendant ... that might just
send a signal to the rain gods to turn those rain taps off
for a while!

So, if you're sitting on a dry comfortable chair, reach
out for some 0.8mm (20-gauge) wire and have a go
at making this little rain cloud necklace. It also looks fun,
attached to the front of a greetings card with the message:
"Life is not about waiting for the storms to pass ... but,
it's about dancing in the rain!".
STEP 1

Working directly from a spool of 0.8mm wire, create an open
spiral.
STEP 2

Bend the wire back, away from the curl of the spiral and squeeze
the doubled wire together.
STEP 3

Before you make the next curve of the frame, make sure you pinch
the doubled wire, so that one wire sits above the other.
STEP 4

Continue to make further curves of varying sizes, pinching the
doubled wire as you go ...
STEP 5

Bring the wire around until it meets the initial spiral.
STEP 6

Cut off the excess wire leaving just enough to create a small
link.
STEP 7

Before you create the end link, place the spiral on your steel block
and Whammer hammer it, to flatten and work harden. You can
hammer the rest of the frame later, as shown in Step 10.
STEP 8

Using the tips of your round nosed pliers, create a tiny hook at
the end of the wire ...
STEP 9

Connect the spiral into the hook and squeeze it flat with the tips
of your chain nosed pliers to secure it in place.
STEP 10

Whammer hammer the rounded ends of the cloud frame, avoiding
the doubled wire areas, as well as the end connection.
STEP 11

Create 3 wire 'raindrops' by folding some 0.8mm wire around
the tips of your pliers, as shown above.
STEP 12

Use the tips of your round nosed pliers to create small links at the
ends of the wire loops.
STEP 13

Whammer hammer only the rounded ends of the 'raindrops' to
flatten, spread and work harden the wire.
STEP 14

Create 3 jump rings and attach each of these through the top
two links of each of the wire 'raindrops'.
STEP 15

Connect the wire 'raindrops' to the base of your cloud frame with jump rings.
STEP 16

To add some extra decoration, bind some small crystals or beads to the inside of the frame with 0.4mm wire.
STEP 17

It's very much up to you if you wish to bead the entire frame,
or just be as minimal, as I have been!
STEP 18

And finally, attach a chain or ribbon from the top of the pendant using one more jump ring!
You can adapt this design in any way you like ...

Above is another version, using crystal drop beads for the rain drops.
And below, is one that I have embellished with more wire!

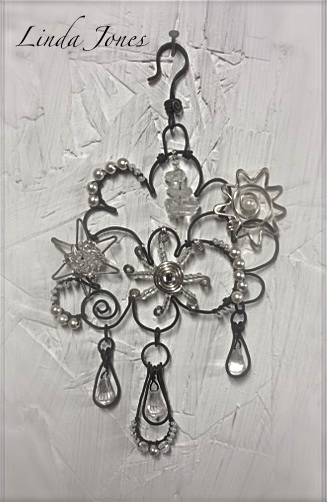
Plus, I have also used this idea to create a piece of wall art.
It's my 'Weather' decoration and is much larger in scale.