globe! So, however you like to celebrate, it's always nice to
be able to create a decoration, or a gift, to mark the event.
In the past, I have created projects for wire 'egg' baskets,
beaded egg pendants, rabbits, etc, etc... and to add to that repertoire,
here are some little wire CHICKS!
The kids, or grandchildren will love to get involved in this,
especially the pom-pom-making from the wire coils!
STEP 1

Create 2 wire coils out of 0.4mm wire, each about
1"-2.5cm in length. You can use a Coiling Gizmo
for this, or a chunky knitting needle.
STEP 2

Stretch the coils out, retaining some curliwurliness!
STEP 3

Create a small circle at the ends of each length and begin
forming a small spiral around with the curly wire.
STEP 4

Wrap the rest of the curly wire around itself to form a
ball - just like you would bind a ball of string. You have now
created the 'head' and 'body' pom-pom for your chick!
STEP 5

To make the EYES and BEAK: choose 2 beads for
the eyes, cut about 3"-7.5cm of 0.4mm wire, plus
a short length of 0.8mm wire - which can be formed
into a 'V' shape. Hammer the very end of the 'V' shape
to work harden.
STEP 6

Using the tips of your round nosed pliers, create small
links at the very ends of the 'V' shape that sit at right
angles to the 'V'.
STEP 7

Take the 0.4mm wire (in Step 5) and loop it around one
of the links of the 'V'. Then pull it through tightly and
repeat through the second link.
STEP 8

With the wire threaded through both links, pull it tightly
and bend the projecting wires upwards (from the 'V').
Thread each projecting with an 'eye' bead.
STEP 9

Push the projecting wires (of the 'eye and beak' unit) into one
of the pom-poms and secure the ends within.
STEP 10

To make the 'legs': place your flat nosed pliers at the centre
of a short length of 0.8mm wire and bend the ends down on
either side. Place the unit on a steel block and hammer the ends
until they spread and flatten out. Cut about 4"-10cm of 0.4mm
wire and wrap one end around the centre of 'leg' unit, leaving
at least 3"-7.5cm protruding straight, in the opposite direction.
STEP 11

Push the protruding straight wire through the 'body' pom-pom,
followed by the 'head' pom-pom, and finally a bead (of a similar
colour to your wire).
STEP 12

Using your round nosed pliers, create a wrapped link at
the top end of the bead with the projecting wire
STEP 13

To make the WINGS: you can use 2 rice shaped beads on
0.4mm wire, threaded vertically through the body pom-pom.
(Alternatively, you can create beaded loops with small
seed beads on each side).
STEP 14

Secure and the second bead 'wing' on the opposite side
and adjust the shape and positioning.

Here's the Chick as an Easter Pendant!

Or, you could create a pair of Easter Chick earrings!

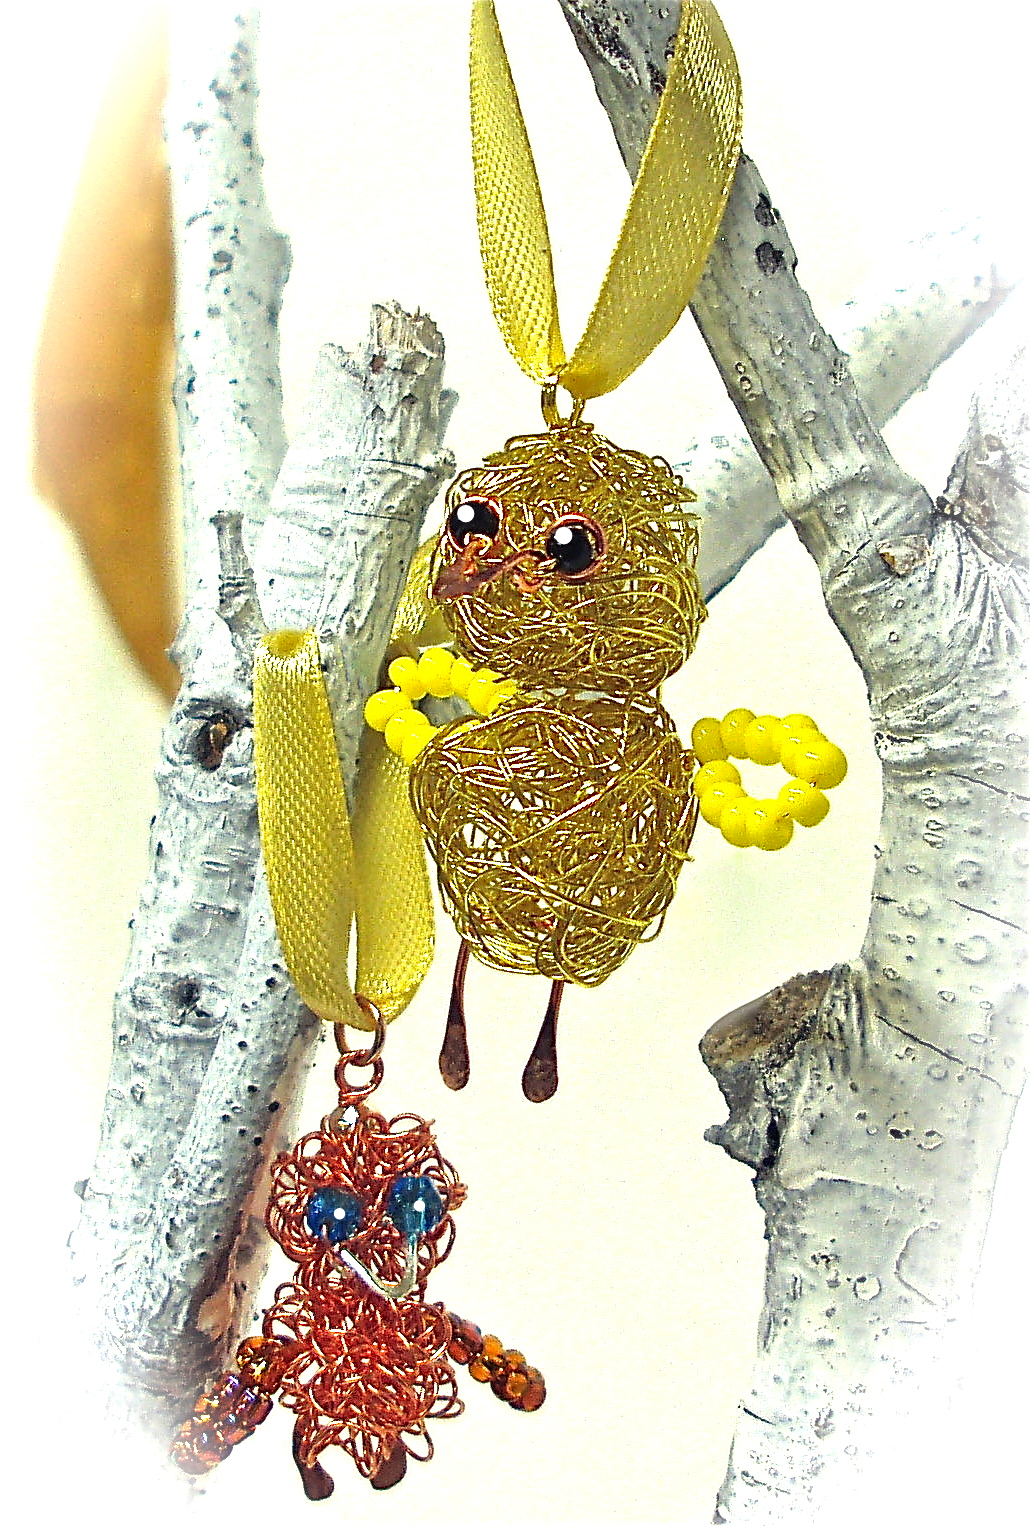
and 'body' by rolling fine, coloured wire into balls
within your hands! As always, there are no rules
when it comes to creative wirework! Just use this idea
as inspiration and a stepping-stone to create your own
versions ...
Wishing you all a very
HAPPY EASTER!
No comments:
Post a Comment